Wednesday, November 10, 2010

Thankful Pennant

I saw a version of this on Parents.com They had made their pennant with grains stalks and different kinds of fall foliage. I liked the idea, but wanted to do it with beans so that my five year old could count and sort them, a little math homework of sorts. Fun to do with him and easy peasy.

Friday, November 5, 2010

Cupcakes & Ice Cream Party

Cupcakes & Ice Cream Birthday Party!

My little girl turned six and here are some fun pictures from her party.


The Entry to "The Sweet Shoppe"


The Sweet Shoppe Wreath.... It's A Party!


The Cupcake & Ice Cream Table


Filled with everything a little girl would need to dress her icecream.


Fancy Ice Cream Bowls & Sundae Cups


Aaahhh... The Cupcakes.  Tropical Punch of course!


The Birthday Girl - Charlee


Just A Little Thank You


Charlee and I made all the little guests Pink and Black aprons as a thank you for coming to her party!

Tuesday, October 26, 2010

Shrunken Heads

I hope you've seen these before, because they are a perfect addition to any Halloween party or home decor.
Start by getting a bowl of water, adding the juice from two lemon wedges and 2 tsp of salt to the water. Then peel your apples.
The fun part is carving your apples. You can make any kind of face, the possibilities are endless. We used whole cloves for the eyes and they worked great!
Then place your apple in the water for 10 minutes. Halloween Alliance recommends 10 minutes for dry areas and an hour for moist humid areas. According to them, "the salt will draw moisture from the apple once it’s out of the water, making the apple dry more quickly and helping to keep it from becoming moldy, and the lemon will help keep the color of the shrunken head light and uniform."

Go to their website and read more about it first before you begin. There are some more hints. Plan for two weeks to dry, but in a pinch you can use a food dehydrator or the oven at 200 degrees for 3-6 hours until dry and shriveled. Our were good for a party we had a week later and they continued to get better.
We actually skewered them on dowels and stuck them in a cookie rack standing up to dry. Place in an attractive arrangement for display and you are good to go.
Here is a sneak peek at how lovely, uhmmm, I mean gruesome and spooky they looked! This was really fun to do with the kids and they loved watching them dry and checked on their progress daily.

Sunday, October 17, 2010

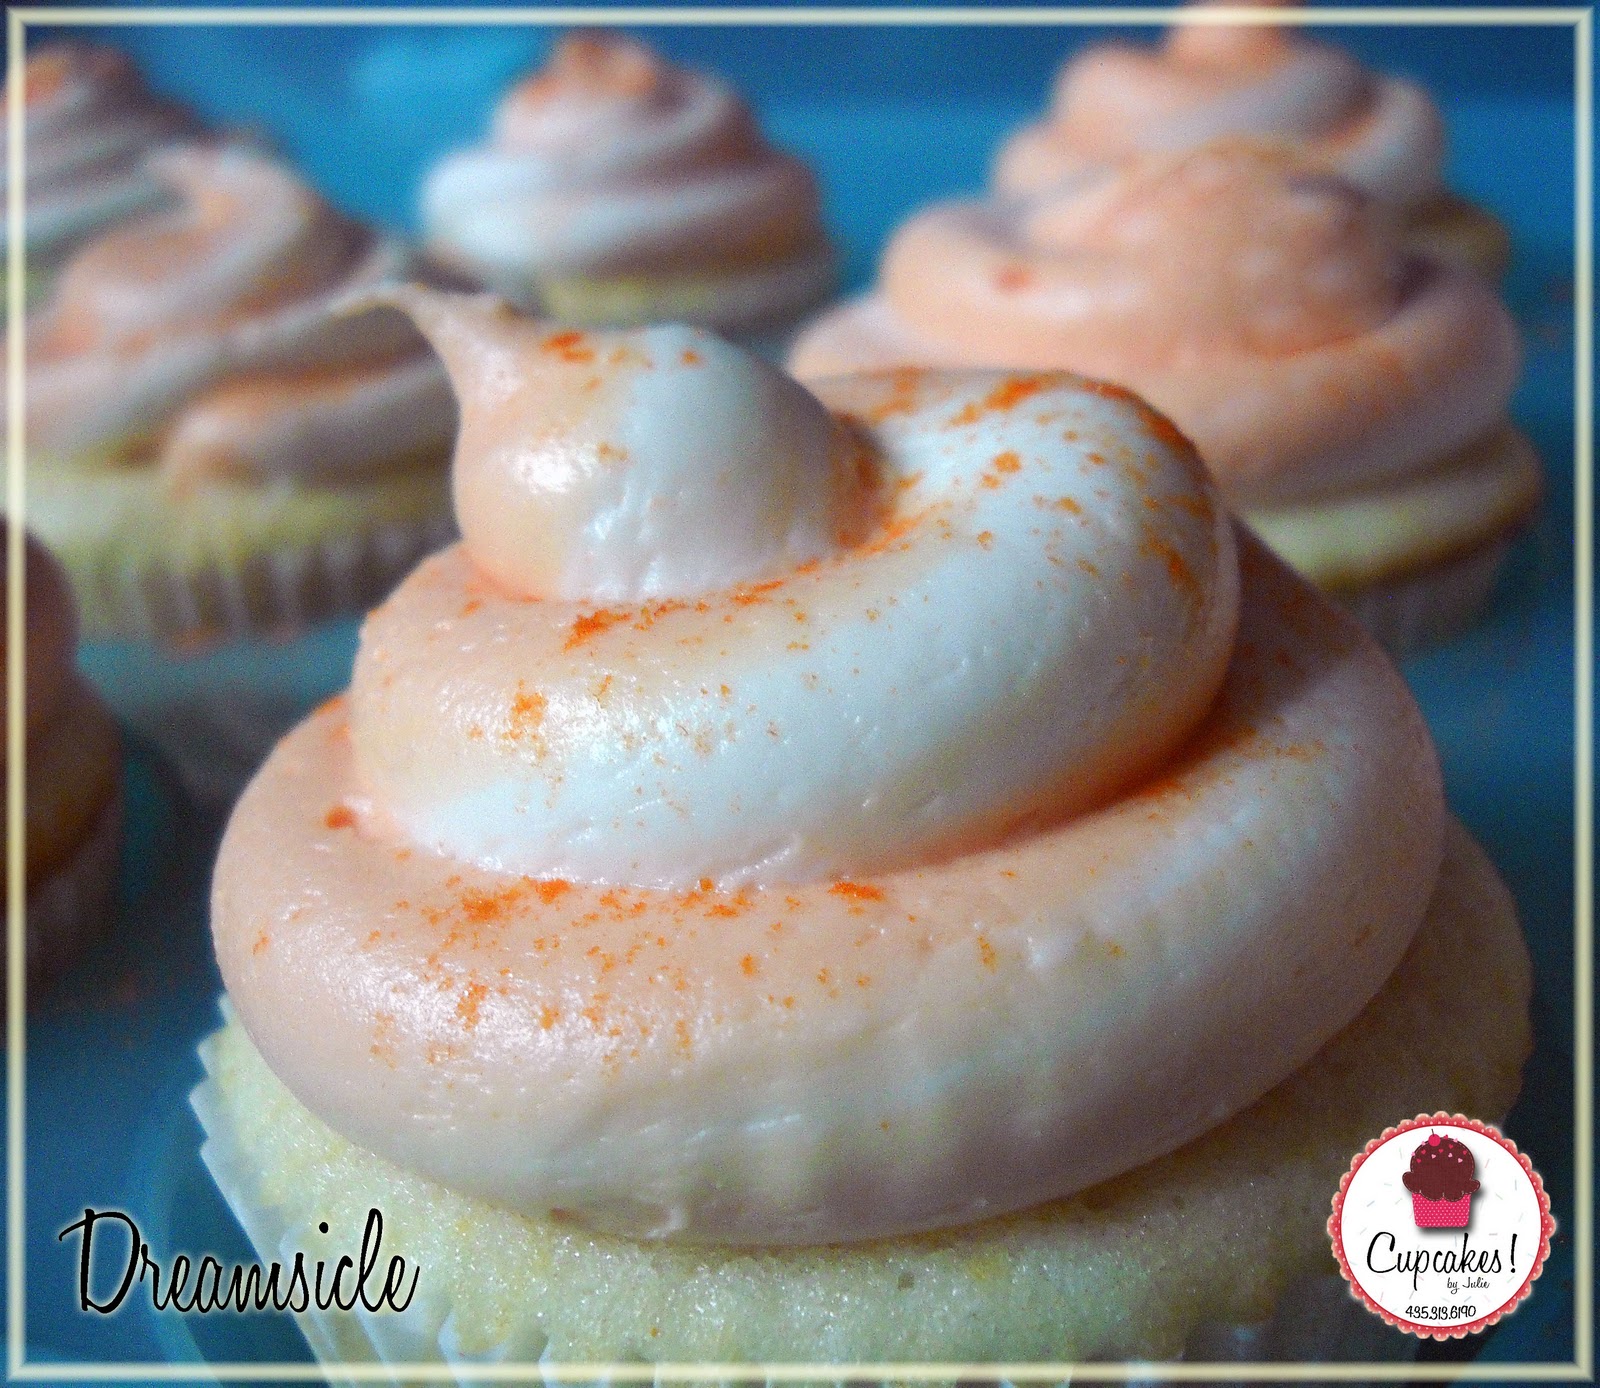
CUPCAKES! by Julie

I have been a craft slacker these past couple of weeks.  But, I have a very good reason!  For the last while I have been debating whether or not to open up my own cupcake business.  I finally did it!  Cupcakes! by Julie is currently in the process.  I am SO EXCITED and ready for this.  I am going to try and keep lots of fun creative crafty posts and pictures of delicious gourmet cupcakes!!

Here are a few of my creations!


 What do you think?  I have many more selections to choose from.  I can do any event from family get togethers to weddings! Even if you just want some cupcakes, give me a call!!!

 I am in the middle of putting my blog together, HERE is the link.  I am also on facebook. 

If you live in Southern Utah, make sure to come to the Ancestor Square Farmer's Market.  Every Saturday through October from 8-12.  I am selling my cupcakes there!


Wednesday, October 13, 2010

Countdown to Candy Winner!

CONGRATULATIONS to TORI!!

Winner of the Countdown to Candy!


Congrats Tori!  Hope you enjoy your Halloween blocks!  Email us at craescreations@hotmail.com with your address!

Thursday, October 7, 2010

Candy Corn Bark

Found a yummy looking recipe for Candy Corn Bark over at Your Homebased Mom. Just had to try it. We liked it a lot. Salty, sweet and of course, all things Halloween. Go ahead a make some for your little Gouls and Witches.
We took Halloween Oreos broken up, pretzel pieces, and a few candy corns and placed them in a pan covered with wax paper.
Melted some almond bark and wilton candy melts and poured it over the top and used a spatula to spread it around. I then put a few Halloween sprinkles and some more candy corn on the top. Allowed it to harden in the fridge and then broke it up into pieces and enjoy it! So yummy!
Share with your friends. Makes great neighborhood gifts! Did I mention how "spook"tacularly easy it was? Ya, super easy.

Wednesday, October 6, 2010

Countdown to Candy Giveaway

Alright, ready for another giveaway?! This is so much fun. We know that this should have been our first giveaway so that you can use it the whole month long to countdown to H-day, you know the fabulous night of absolute bliss, Halloween. Best laid plans aside, here is the countdown anyway. You will be able to use it for half the month and many many more years of fun to come. Come on and enter our 3rd giveaway if you dare!!

There are many many versions of countdown blocks in the blog world, but this is a mini version, can fit in the palm of your hand. (I have one in my kids room in
additon to the regular sized one in the family room)

Here's How To Enter To Win!!1. Leave a comment on this post for 1st entry.
2. Follow this blog for a 2nd entry. If you are already a follower,
leave a comment stating you are!
3. Post this giveaway on your blog for a 3rd entry!
Deadline to enter the giveaway is Tuesday, October 12th at Midnight.

TIME'S UP!
Please see new post for announcement of winner!

Winner will chosen at random (using Random.Org) and announced on Wednesday, October 13th.

Here's wishing you some GOULISHLY GOOD LUCK! Remember, we will post another Halloween Giveaway next week after we
announce the WINNER for the Countdown to Candy giveaway!